Installing the Agent

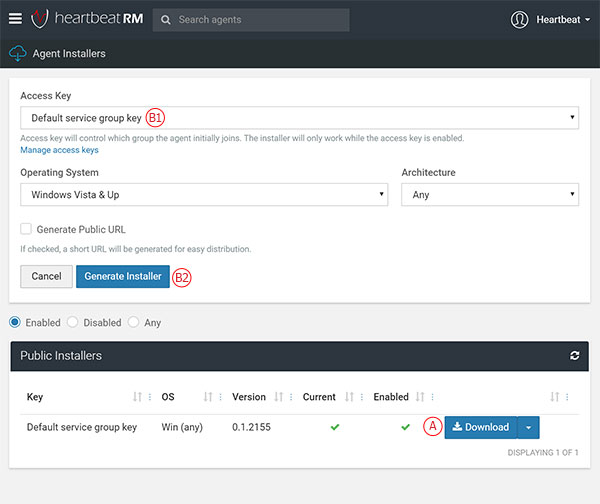
The agent is a small piece of software installed on any computer you wish to remotely manage. It communicates with HeartbeatRM servers, and is responsible for receiving and processing commands, as well as sending system health metrics.

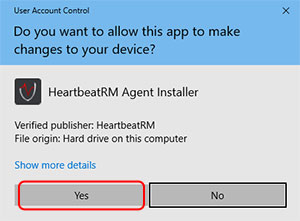
To install the agent you will need to download and run the installer application. After installation, the agent will automatically appear in your list of registered computers.


Step 1: Retrieve the installer

To download your installer, select Installers from the main menu.

From this page you can select a public installer or generate a new one.

Installers appearing in the “Public” list are assigned fixed URLs that won’t change. You can provide these URLs to anyone for downloading and installing the agent. We automatically generate one public installer for you by default.

Click the “Download” button marked by the letter (A) in the image below. Additional options to “Copy Link” and “Email Link” are also available under the button’s drop-down arrow icon.

You can also generate a new installer by selecting the access key (B1), and clicking the “Generate Installer” (B2) button. 


Step 2: Run the installer

After downloading the agent installer, double-click the file to start the installation. Click “Yes” if you receive a Windows prompt to run the file.

Follow the directions on screen to complete the installation.

Step 3: Return to HeartbeatRM

When the installation finishes, return to the HeartbeatRM web interface. Select “All Agents” if it exists, otherwise choose the top-most group (“Demo Org” in the example below).

You should see your new computer in the list.

Click on the Display Name of your new agent to view details and access features such as remote access, file management and more.

Scroll to Top
Scroll to Top